What is Raku pottery?
Raku pottery is created with a specific ceramic firing process that uses both fire and smoke to create unique patterns and designs. The piece is first bisque fired, then it is glazed and undergoes a raku firing process. The firing process requires a special raku kiln that is fueled by propane and reaches temperatures of about 1,800°F (about 982°C).
In order to complete the firing process, the pottery must remain in the kiln for approximately 30 minutes. It is then removed from the kiln using specially designed raku tongs. While the raku pottery piece is still hot and glowing, it is placed inside a metal can full of combustible materials. The heat emitted from the pottery causes these materials to catch on fire.
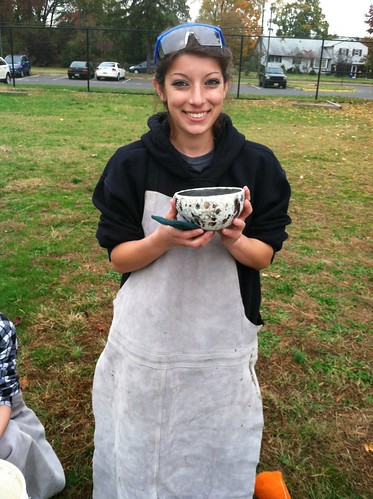
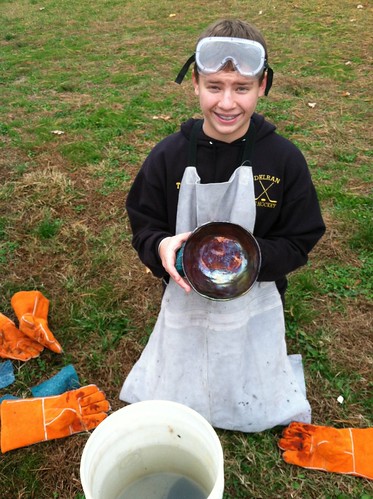
As the fire consumes the oxygen within the can, it also draws the oxygen out of the pottery and its glaze. This process is called post fire reduction. It this stage that creates the unique look of raku pottery. The resulting patterns and colors are unpredictable, as they are created through the natural process of oxygen removal. (http://www.wisegeek.com/what-is-raku-pottery.htm)
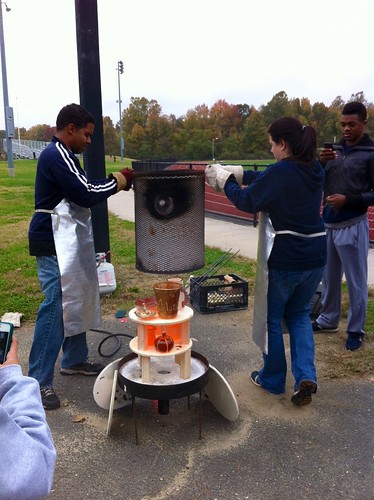
Pottery is loaded into a small kiln.
It is fired to 1800 degrees F.
The temperature is measured with a pyrometer.

Once we reach maturing point, the lid is slowly removed.

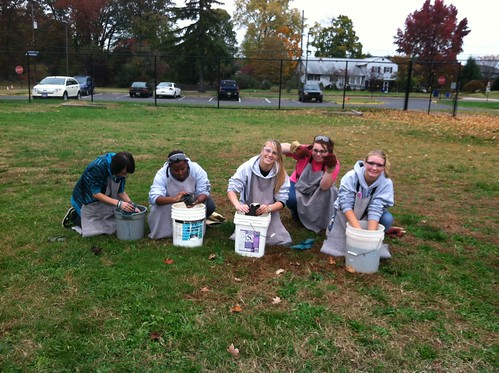
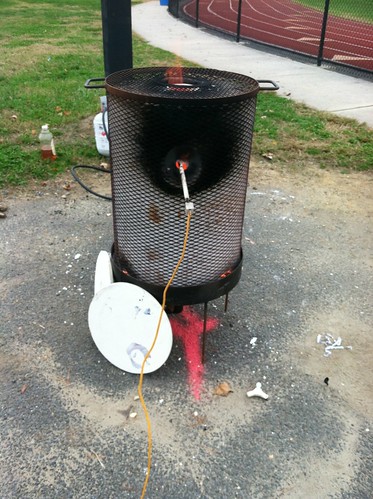
In the mean time, students have prepared metal cans with combustible materials, such a paper, leaves, and pine needles.
Using metal tongs, the hot ware is removed and placed into the metal cans.
The hot ware ignites the combustible material.
A lid is placed on the can to begin the reduction process.
10 to 15 minutes later the lid is removed.
Using tongs, the pottery is taken out of the can.

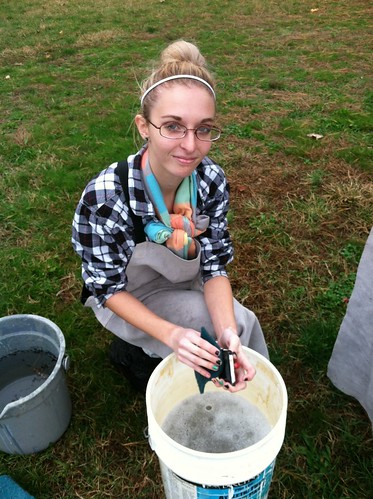
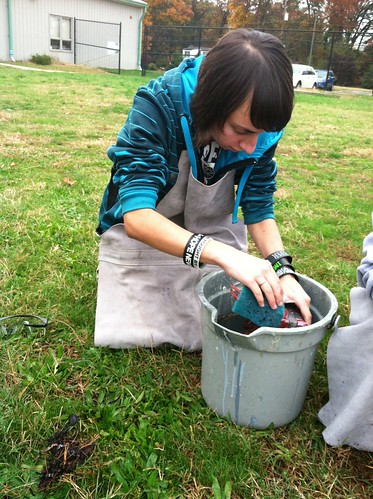
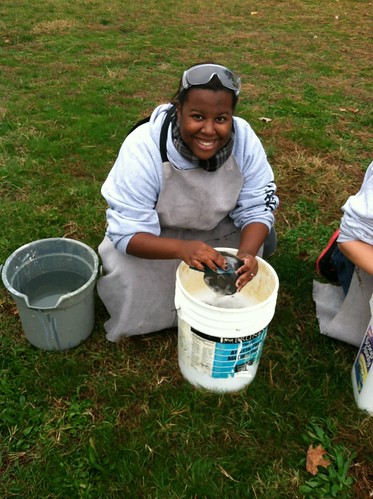
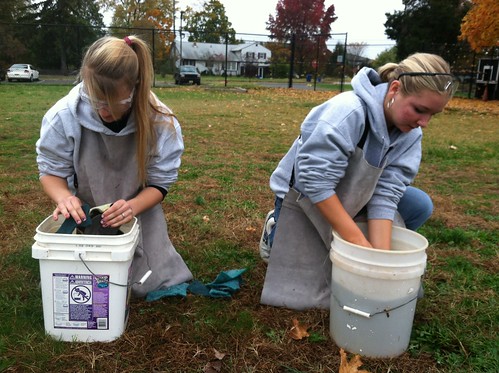
Water is used to cool the pot and stop the process.
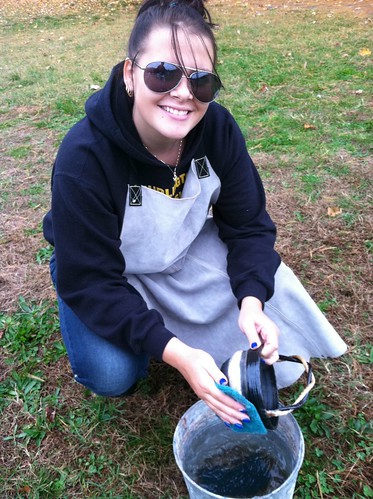
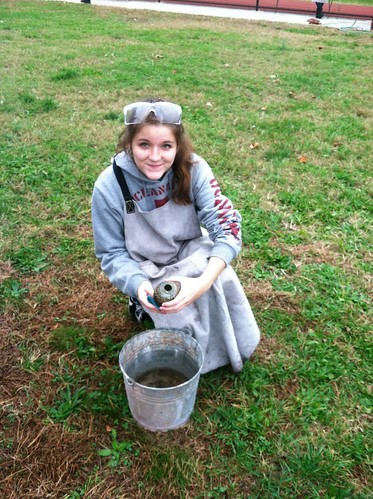
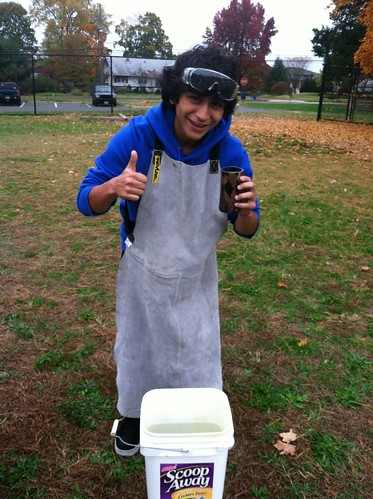
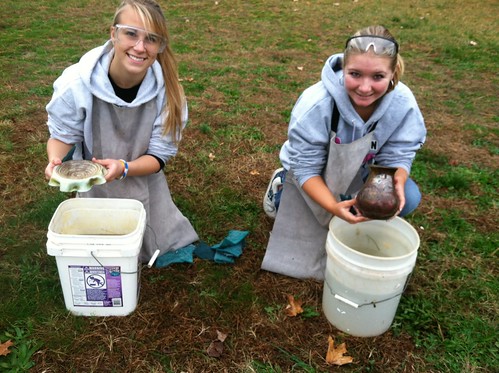
When the piece is cool to the touch, it can be scrubbed clean.